We recommend backing up your photos to your computer before deleting them from your iPhone. You can do this easily with TouchCopy!
How to Backup iPhone PhotosIf you need to free up some space on your iPhone, or simply want to back up your photos to your computer so you can remove them from your iPhone, you're in the right place. You can also save a tonne of space on your iPhone by clearing Documents & Data.
Before deleting anything from your iPhone, we strongly recommend backing up your files, in case you delete something you didn't want to delete. If your files are backed up and you make a mistake, you can recover them easily from your computer. We'll cover backing up your photos later on in this article, but feel free to start there if you wish to back up your photos first!
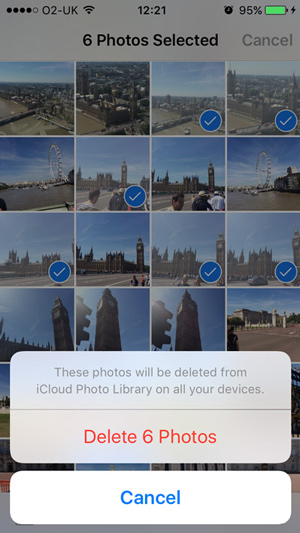
If you use iCloud to store iPhone photos and you choose to delete them on your iPhone, photos will be deleted from iCloud library on all devices connected to this account. If you don't store your photos in iCloud, they will only be deleted from your current device.
To delete a single photo, open the Photos app on your iPhone. Tap the photo you want to remove, then tap the Trash icon. Confirm the deletion, and the photo will be moved to "Recently Deleted."
If you wish to remove multiple photos at once from your iPhone, open up your Photos App again, and ensure that you are in Photos, Memories or Shared. Now tap Select from the top-right corner of the app. You'll now be able to tap multiple photos (or tap and drag your finger) to select multiple images.
Once you've made your selection, tap the Trash icon, and confirm the delete. Your photos will again be sent to "Recently Deleted".
Recently Deleted: You may notice that no space has been cleared from your iPhone yet. This is your iPhone's safety mechanism for temporarily backing up your photos in case you change your mind. When you "delete" a photo, it will be kept in Recently Deleted for 30 days. If you are sure that you want to remove the photos from your device after they are sent to Recently Deleted, you can delete them from here before the 30 days are up. Go to Photos > Albums > Recently Deleted, hit Select, then tap Delete All.
Now the photos are deleted permanently from your iPhone.
If you're interested in deleting photos from your PC or Mac, read on below...
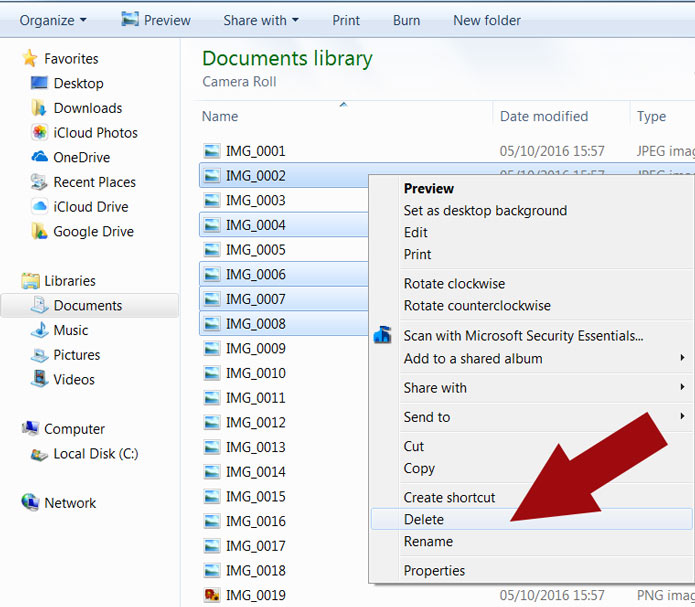
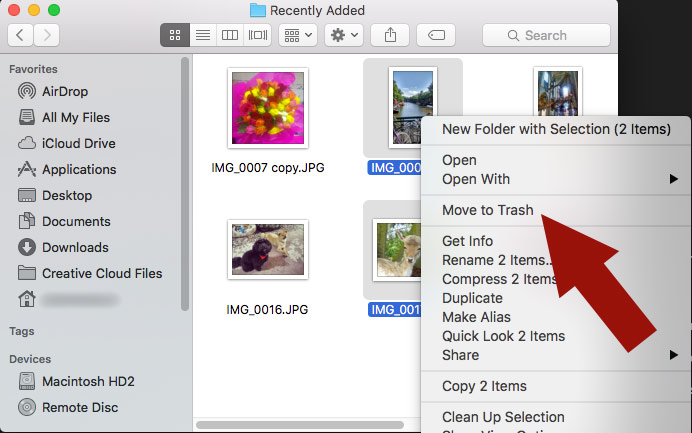
To permanently delete the photos, open your Recycle Bin (PC) or Trash Can (Mac), and either empty the deleted items - removing all items in the list, or select only the items you wish to delete, and delete them.
As advised at the top of this article, we always recommend backing up your iPhone before deleting anything (we also advise backing up on a regular basis, even if you don't plan on deleting data!).
You can perform a backup of your device using iTunes, but these backups don't contain all of your iPhone data, and you can't access data from your backups without restoring them to your device.
TouchCopy allows you to back up everything from your iPhone, and save the data to your computer so that you can access your photos, messages, music etc. straight from your computer.
To back up your iPhone photos to your computer, follow these steps...
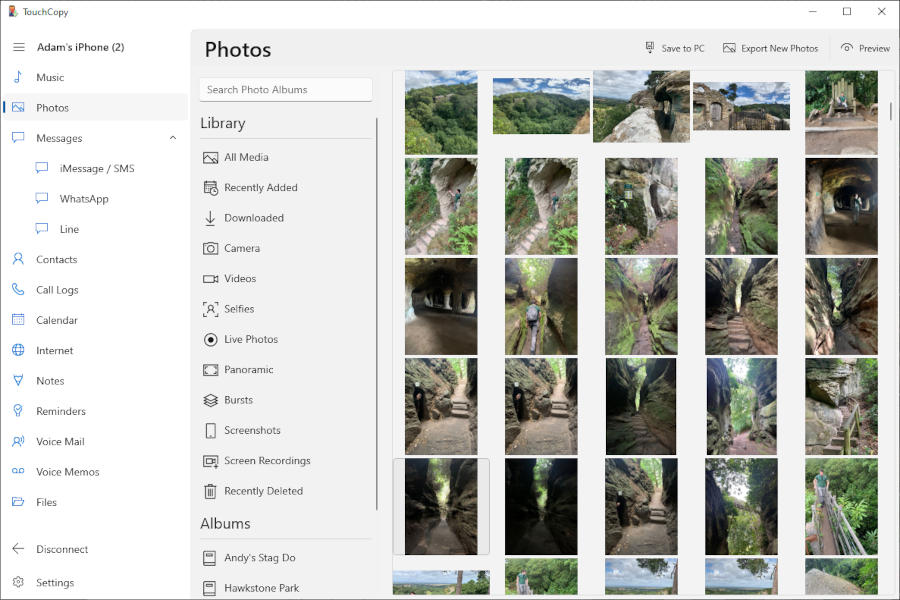
For more information on how to copy photos with TouchCopy, or general information, please see the TouchCopy user guide.

