Last Updated : | Author: Wide Angle Software
3 Easy Ways to Backup Your iPhone Notes
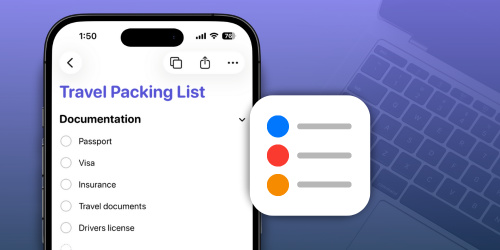
The iPhone Notes app makes it easy to capture everything from quick thoughts to detailed checklists. It has evolved from simple text notes into a powerful tool that lets you add tables, checklists, handwritten scribbles, and even attach images and videos—making it incredibly versatile.
This article will guide you through 3 easy methods to backup and access your iPhone notes on your computer:
- Backup iPhone Notes to Computer with TouchCopy
- View iPhone Notes on a Computer via iCloud
- Save Notes by Sharing on Email / Messages
1. Backup iPhone Notes to Your Computer with TouchCopy
First up is our most robust method: the TouchCopy app for Windows and Mac. TouchCopy lets you quickly and easily transfer notes and other files from your iPhone or iPad to your computer. You have complete control over which data you'd like to transfer—no need for iTunes syncs or iCloud access.
Here's a quick guide on how to use TouchCopy to export notes from iPhone to computer. For full details of what TouchCopy can do with your notes, please see the TouchCopy user guide.
- Launch TouchCopy and connect your iPhone to your computer.
- Click the Notes tab to browse through your iPhone notes.
- Select an individual note or a folder of notes that you wish to backup.
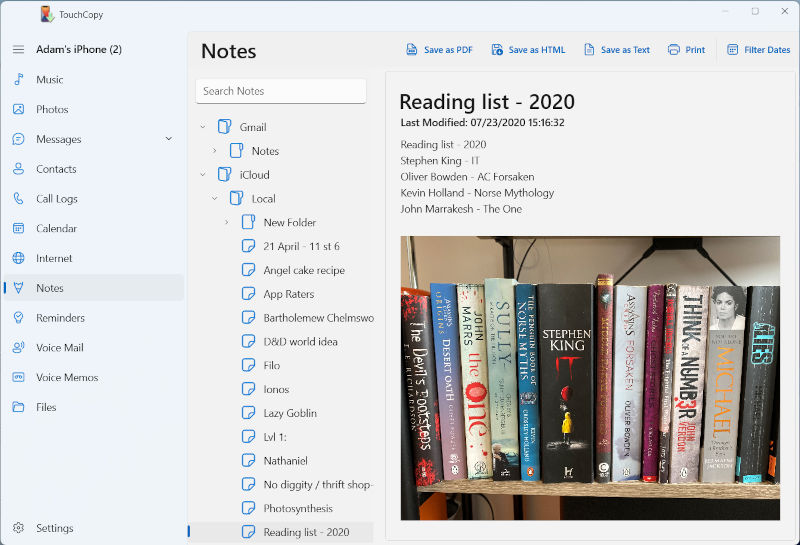
- Choose your preferred export format by clicking on Save as PDF, Save as HTML, or Save as Text.
- Select where to save the files on your computer. TouchCopy will export your complete notes, including all text content and attachments—images, videos, sketches, checklists, and call recordings.


Watch the video to see how to backup notes from iPhone to computer:
2. View iPhone Notes on a Computer via iCloud
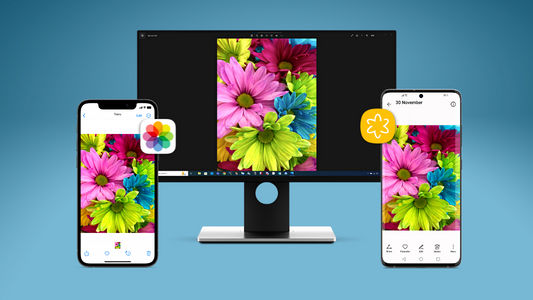
Viewing your notes in iCloud is easy. It allows you to access your notes on any device linked to your Apple ID (and from any browser, using the iCloud website). New notes you make are automatically saved to iCloud as well.
Keep in mind that iCloud offers only 5GB of free storage, which can fill up quickly if you're also backing up photos, videos, or other files. You can upgrade to a larger storage plan with a monthly subscription if needed.
While you can view and edit your iCloud Notes by signing in at icloud.com, exporting them to your computer requires a third-party app like TouchCopy as described in the previous section.
Here's how to enable iCloud storage for your iPhone notes so you can view them on your computer...
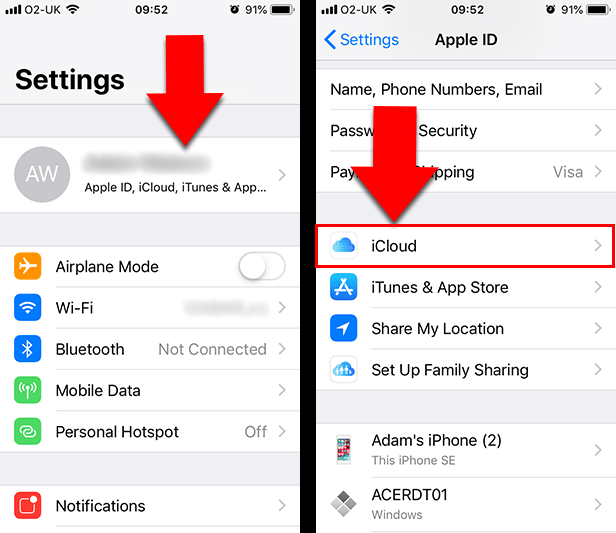
- On your iPhone, open Settings > [your name] > iCloud.
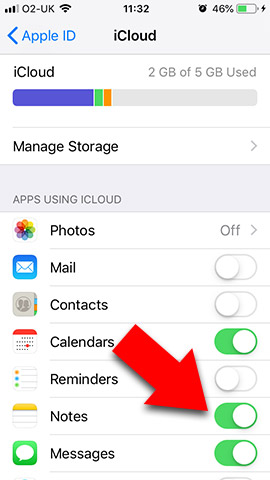
- Toggle iPhone Notes syncing to On.
- Your notes will upload to iCloud.
- Sign in to iCloud on your computer or another device to access your notes.
3. Share Notes using Email / Message
Next up is a quick little method for those users who wish to transfer only a couple of notes. You can share iPhone notes via email or message, but you can only send 1 note at a time.
In this way, you can send a note to a contact, or even send it to your own email address so that you can access it from another computer or device. Let's see how to share notes on iPhone...
- Open the Notes app on your iPhone.
- Open the note you want to send.
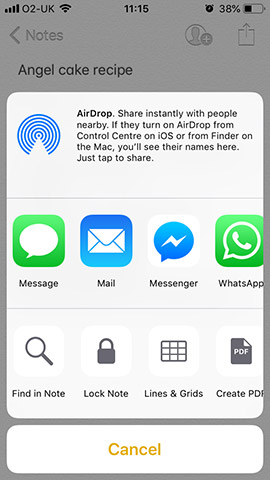
- Tap the share icon in the top-right corner.
- Select which channel you would like to use to send your message.
- Send!
As you can see below, you can send a note via such channels as Airdrop, Message, Mail, Messenger, WhatsApp and more!
Want more tech tips like this?
Add us as a Preferred Source on Google.