Getting started with TouchCopy on your PC or Mac
With TouchCopy it's easy to connect your iPhone, iPad or iPod with your computer, access all its content, and save what you need straight to your PC or Mac. Let's see how to get started...
Table of contents
Step 1: Get TouchCopy on your computer
The first step is to download and install TouchCopy on your computer.


The download page will guide you through how to install your downloaded version of TouchCopy on your computer.
Note that you do not need to download or install anything on your iPhone, iPad or iPod to use TouchCopy.
When you launch TouchCopy on your computer for the first time, it will start in demo mode. Demo mode offers limited functionality and is available to anyone who wants to try TouchCopy for free.
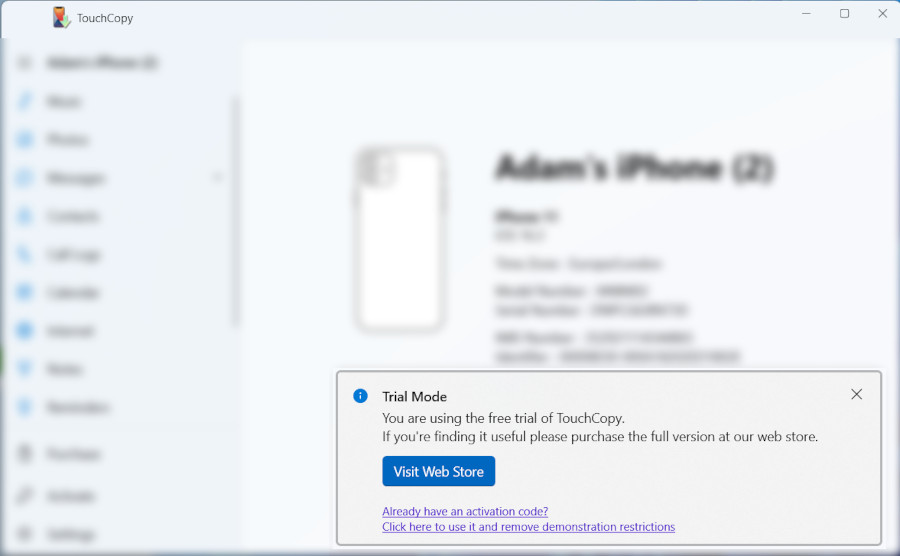
If you've already purchased a licence, you can activate TouchCopy using your activation code. Once activated, any demo limitations will be removed, and you'll be running the full version!
Step 2: Connect your device
Next, grab your iPhone, iPad or iPod and connect it to your computer using your USB cable.
During this connection, your device may ask if you want to trust this computer. Tap Trust and/or enter your device's passcode when prompted.
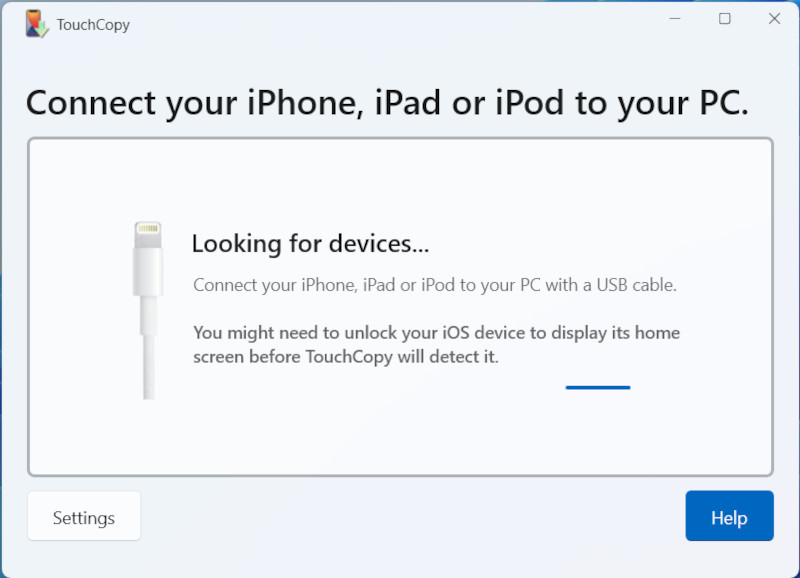
TouchCopy will automatically detect your device and connect to it. Once connected, you can explore all the connected device's content from within TouchCopy!
Step 3: Explore your device content
Select any section in TouchCopy to view the corresponding content. For example, clicking Music will display all your iPhone's music. You can then play tracks or copy your music to your computer.
- Music, Photos and Files can be accessed directly from the connected device.
- For other sections like Messages, Call Logs and Contacts, TouchCopy will need to read that content from a backup.
If you already have a backup of the device, you can choose to read from that; or have TouchCopy create a new backup so that you have all your most recent content at your fingertips.

Step 4: Copy content from your device to your computer
Now that you have access to your iPhone, iPad or iPod content, you can select the content you wish to save to your computer, and copy it!
This process is really easy, but varies slightly from section to section. Watch the video below for a quick walkthrough on each section of TouchCopy, or read on for more information.
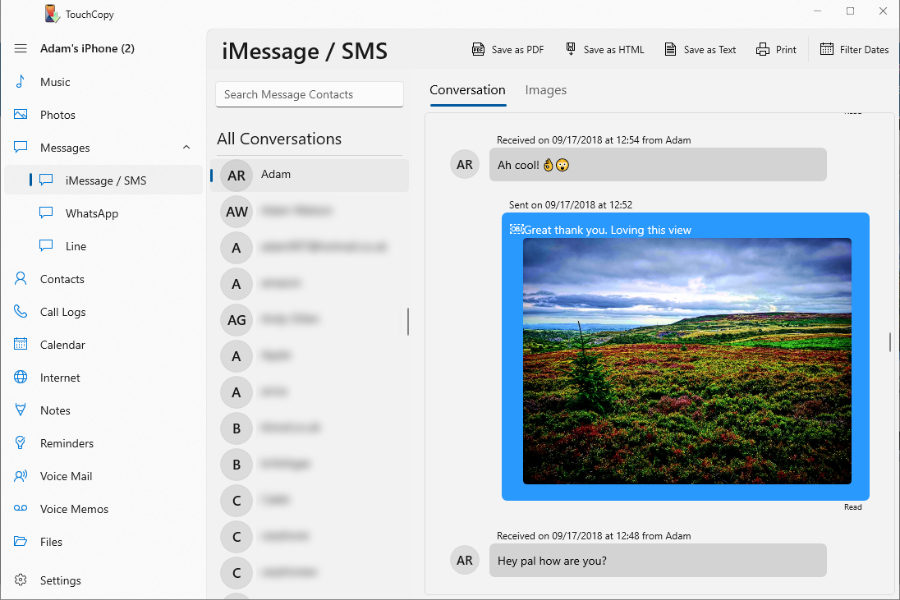
A great example is how to copy a message conversation from iPhone to computer. Click the Messages section in TouchCopy, then select the conversation you wish to view by clicking the corresponding contact's name - your conversation will appear in the preview. Next, choose one of the export formats at the top of the window (Save as PDF, HTML or Text).
All that's left to do is to tell TouchCopy where you wish to save this file to on your computer by selecting a location - then complete the save!